Try-Catch සහ Custom Exceptions: Software වල වැදගත්ම දේක SC Guide
හෙලෝ යාලුවනේ! කොහොමද ඉතින්? මේ දවස් වල Software Development කරනකොට ඔයාලටත් වෙලා ඇති නේද, වැඩේ කරගෙන යන අතරේදී ටක් ගාලා Error එකක් ඇවිත් මුළු Application එකම Crash වෙලා යන සිද්ධි?
අයියෝ! ඒ වෙලාවට හිතෙනවා 'මේ මොකක්ද මචං මේ වුණේ?' කියලා. ඒ විතරක් නෙවෙයි, සමහර වෙලාවට User කෙනෙක්ට Application එක Use කරනකොට, හදිස්සියේ එයාගේ වැඩේ අතරමග නතර වෙලා, අමුතු, තේරුමක් නැති Error Messages දර්ශනය වුණාම User Experience එකට ලොකු හානියක් වෙනවා. ඒක නේද වැදගත්?
ඉතින්, ඔය වගේ Critical Situations වලදී අපේ Application එක කඩාගෙන වැටෙන්නේ නැතිව, ඒ Errors හරි අවස්ථා handle කරගෙන ඉදිරියට යන්න උදව් වෙන, Software Engineering වලට පට්ට වැදගත් Concept එකක් තමයි Exception Handling කියන්නේ. අද අපි කතා කරමු Try-Catch Blocks ගැනයි, Custom Exceptions හදන හැටි ගැනයි. සිරා වැඩක් වෙයි, එහෙනම් සෙට් වෙමු!
1. Exception එකක් කියන්නේ මොකක්ද?
සරලවම කියනවා නම්, Exception එකක් කියන්නේ Application එක Run වෙනකොට, සාමාන්ය Flow එකට බාධා කරන, අනපේක්ෂිත සිදුවීමක්. හිතන්නකෝ, ඔයා Number දෙකක් බෙදන Program එකක් ලිව්වා කියලා. ඒත් User කෙනෙක් දෙවෙනි Number එකට '0' දැම්මොත් මොකද වෙන්නේ? ගණිතය අනුව '0'න් බෙදන්න බැහැනේ. ඉතින් Application එකට 'ArithmeticException' එකක් එන්න පුළුවන්. ඒක තමයි Exception එකක් කියන්නේ.
Syntax Errors වගේ ඒවා අපි Code කරනකොටම Compiler එකෙන් පෙන්නනවා. හැබැයි Exceptions එන්නේ Application එක Run වෙනකොට (Runtime). File එකක් Open කරන්න ගිහින් ඒක නැත්නම්, Database එකකට Connect වෙන්න ගිහින් Connection එක නැතිනම්, Network එකේ අවුලක් ආවොත් – මේ හැම එකක්ම Exceptions. මේවා හරියට Handle නොකළොත් අපේ System එක Crash වෙන්න, Data නැතිවෙන්න වගේ ලොකු අවුල් වෙන්න පුළුවන්.
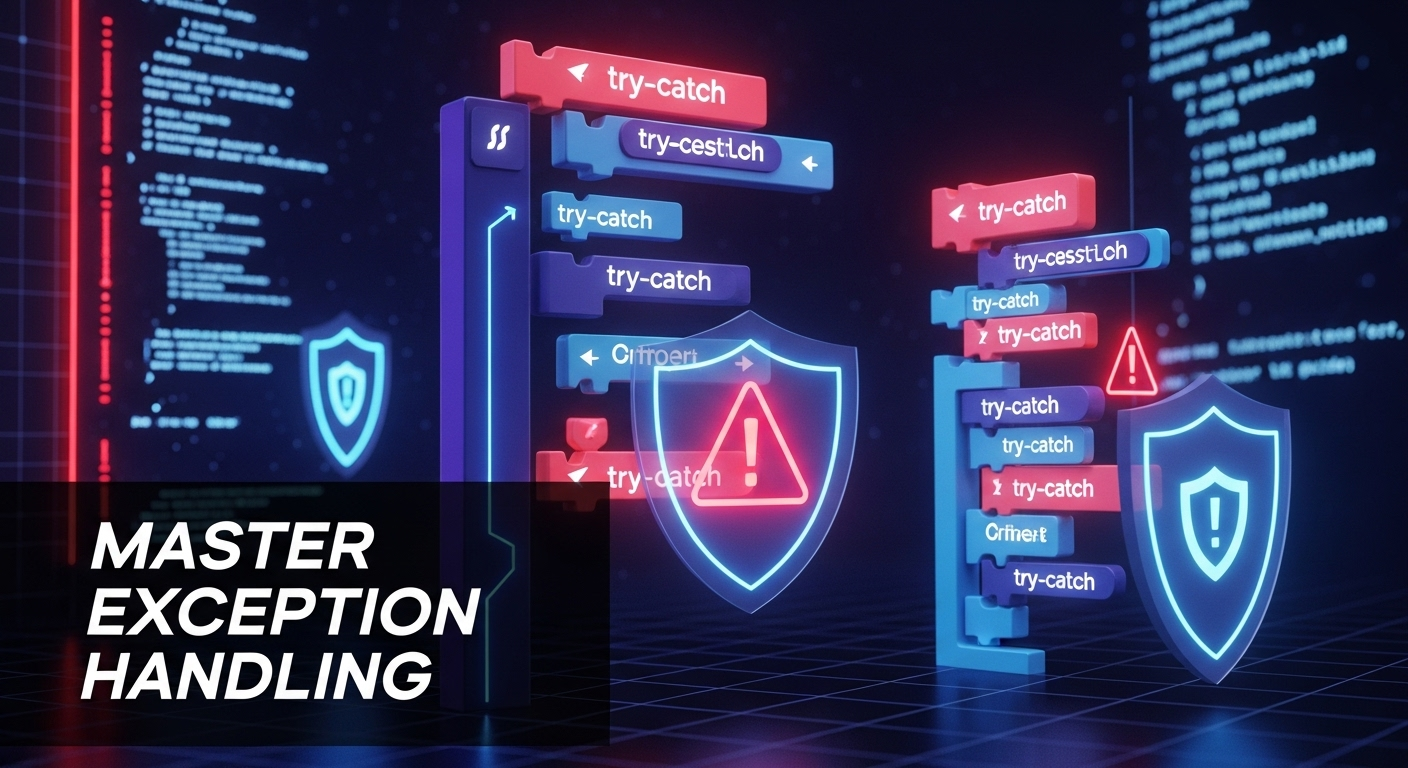
2. Try-Catch Block එකක වැඩ
Try-Catch Block එකක් තමයි Exception Handling වල මූලිකම අවිය. මේකෙන් අපි කරන දේ සරලයි:
- try block: මේ Block එක ඇතුළේ තමයි අපි Exception එකක් එන්න පුළුවන් කියලා හිතන Code කොටස ලියන්නේ. Program එක මේ Code එක Run කරලා බලනවා.
- catch block: 'try' Block එක ඇතුළේ Exception එකක් ආවොත්, ඒ Exception එක 'catch' Block එකෙන් අල්ලගන්නවා (catch). මේ 'catch' Block එක ඇතුළේ අපි ලියනවා, Exception එක ආවොත් මොකද කරන්න ඕනේ කියලා.
උදාහරණයක් විදිහට බලමු, Number දෙකක් බෙදන Code එකක්.
public class DivisionExample {
    public static void main(String[] args) {
        int numerator = 10;
        int denominator = 0;

        try {
            // Exception එකක් එන්න පුළුවන් Code එක
            int result = numerator / denominator;
            System.out.println("Result: " + result);
        } catch (ArithmeticException e) {
            // ArithmeticException එකක් ආවොත් මේක Run වෙනවා
            System.err.println("Error: Cannot divide by zero!");
            System.err.println("Exception Details: " + e.getMessage());
        } catch (Exception e) {
            // වෙන ඕනෑම Exception එකක් අල්ලගන්න
            System.err.println("An unexpected error occurred: " + e.getMessage());
        } finally {
            System.out.println("This block always executes.");
        }

        System.out.println("Program continues after exception handling.");
    }
}
මේ Code එකේදී, `numerator / denominator` කියන එකෙන් Exception එකක් ආවොත් (මේ අවස්ථාවේදී `ArithmeticException` එකක්), program එක කෙලින්ම `catch (ArithmeticException e)` Block එකට පනිනවා. එතකොට අපිට පුළුවන් User ට Friendly Message එකක් පෙන්නන්න, නැත්නම් ඒ Error එක Log කරලා තියාගන්න. ඒ වගේම, `catch (Exception e)` කියලා දාන එකෙන් ඕනෑම වර්ගයක Exception එකක් අල්ලගන්න පුළුවන්. හැබැයි පුළුවන් තරම් Specific Exception types අල්ලගන්න එක තමයි හොඳ.
3. Finally Block එකේ බලය
Try-Catch Block එකට තව එකක් එකතු කරන්න පුළුවන්, ඒ තමයි `finally` Block එක. මේ `finally` Block එක ඇතුළේ තියෙන Code එක, Exception එකක් ආවත් නැතත්, අනිවාර්යයෙන්ම Run වෙනවා. මේක පට්ටම වැදගත් වන්නේ Resource Management වලදී.
හිතන්න, ඔයා File එකක් Open කරා, නැත්නම් Database එකකට Connection එකක් ගත්තා කියලා. වැඩේ ඉවර වුණාම ඒ File එක Close කරන්න, Database Connection එක Release කරන්න ඕනේ නේද? නැත්නම් Resources Block වෙලා, System Performance එකට බලපාන්න පුළුවන්. Exception එකක් ආවත්, ඒ Resources Free කරන්න ඕනේනේ. අන්න ඒ වෙලාවට තමයි `finally` Block එක වීරයෙක් වගේ එන්නේ.
import java.io.BufferedReader;
import java.io.FileReader;
import java.io.IOException;

public class FileReaderExample {
    public static void main(String[] args) {
        BufferedReader reader = null;
        try {
            reader = new BufferedReader(new FileReader("nonexistent_file.txt"));
            String line;
            while ((line = reader.readLine()) != null) {
                System.out.println(line);
            }
        } catch (IOException e) {
            System.err.println("Error reading file: " + e.getMessage());
        } finally {
            // Exception එකක් ආවත් නැතත් මේක Run වෙනවා
            if (reader != null) {
                try {
                    reader.close();
                    System.out.println("File reader closed successfully.");
                } catch (IOException e) {
                    System.err.println("Error closing reader: " + e.getMessage());
                }
            }
        }
    }
}
මේ Code එකේදී, `nonexistent_file.txt` කියන File එක නැති නිසා `IOException` එකක් එනවා. හැබැයි, `finally` Block එක නිසා `reader.close()` කියන Code එක Run වෙලා, Resource එක නිදහස් වෙනවා. ඒක තමයි `finally` වල ලොකුම වාසිය.
4. තමන්ගේම Custom Exceptions හදමු!
සමහර වෙලාවට අපිට ඕනේ වෙනවා අපේ Application එකේ Specific Logic Errors වලට අදාළව අපේම Exceptions හදාගන්න. උදාහරණයක් විදිහට, User කෙනෙක් දාන Password එකේ Length එක මදි වුණොත්, අපිට 'InvalidPasswordLengthException' කියලා Custom Exception එකක් හදාගන්න පුළුවන්. මේකෙන් Code එකේ Readability එක වැඩි වෙනවා වගේම, Exception Handling එකත් Systematic වෙනවා.
Custom Exception එකක් හදන්නේ, `Exception` Class එකෙන් Inherit කරලා තමයි.
// Custom Exception Class එකක්
public class InvalidPasswordException extends Exception {
    public InvalidPasswordException(String message) {
        super(message);
    }

    public InvalidPasswordException(String message, Throwable cause) {
        super(message, cause);
    }
}
මේක Use කරන විදිහ මේකයි:
public class UserRegistration {

    public void registerUser(String username, String password) throws InvalidPasswordException {
        if (password.length() < 8) {
            // Custom Exception එකක් Throw කරනවා
            throw new InvalidPasswordException("Password must be at least 8 characters long.");
        }
        // සාර්ථකව User එක Register වෙන Code එක මෙතනට
        System.out.println("User " + username + " registered successfully!");
    }

    public static void main(String[] args) {
        UserRegistration app = new UserRegistration();
        try {
            app.registerUser("sithum", "pass123"); // මේක Exception එකක් throw කරනවා
        } catch (InvalidPasswordException e) {
            System.err.println("Registration Error: " + e.getMessage());
        }

        try {
            app.registerUser("kasun", "supersecurepassword"); // මේක සාර්ථකයි
        } catch (InvalidPasswordException e) {
            System.err.println("Registration Error: " + e.getMessage());
        }
    }
}
`throw` Keyword එකෙන් තමයි අපි Custom Exception එකක් Generate කරන්නේ. ඒ වගේම, `throws` Keyword එකෙන් අපි Method Signature එකේදී පෙන්නනවා, මේ Method එකෙන් මේ වගේ Exception එකක් Throw කරන්න පුළුවන් කියලා. මේකෙන් Compiler එකටත්, මේ Method එක Use කරන Developers ලටත් පැහැදිලි වෙනවා, මොන වගේ Errors බලාපොරොත්තු වෙන්න පුළුවන්ද කියලා.
5. Best Practices: Exception Handling නියමටම කරමු
Exception Handling කියන්නේ නිකම්ම Error එකක් ආවම Program එක Crash නොවී තියෙන එක විතරක් නෙවෙයි. ඒක හරියට, Professionally, Smart විදිහට කරන්න ඕන දෙයක්. මෙන්න මේ දේවල් මතක තියාගන්න:
- Specific Exceptions Catch කරන්න: පුළුවන් තරම් `catch (Exception e)` කියලා හැම Exception එකක්ම අල්ලන්නේ නැතිව, Specific Exception Type එක අල්ලන්න. ඒකෙන් Code එකට තවත් Clear Message එකක් දෙනවා.
- Empty Catch Blocks වලින් වළකින්න: 'Catch' කරලා කිසිම දෙයක් නොකර ඉන්න එපා. ඒකෙන් Error එක Hide වෙනවා, පස්සේ Debug කරනකොට ලොකු අවුලක් වෙනවා. අඩුම ගානේ Exception එක Log කරන්න.
- Meaningful Error Messages දෙන්න: User ට 'Something went wrong' වගේ Messages දෙන්න එපා. 'Invalid username or password' වගේ පැහැදිලි Message එකක් දෙන්න. Developers ලට Bug Fix කරන්න Easy වෙන විදිහට Full Stack Trace එක Log කරන්න.
- Never Catch Checked Exceptions සහ Re-throw කරන්න: සමහර Exception types (Checked Exceptions) Compiling වෙලාවේම Handle කරන්න කියලා force කරනවා. ඒවා අල්ලලා, අවශ්ය නම් Higher Level එකකට Re-throw කරන්න පුළුවන්, ඒකෙන් Error handling Flow එක Clear වෙනවා.
- Exception Handling Business Logic වලට Use කරන්න එපා: Exception Handling කියන්නේ, Program එකේ සාමාන්ය Flow එකට බාධා වෙන අනපේක්ෂිත සිද්ධි Handle කරන්න. `if-else` Logic වලට `try-catch` යොදාගන්න එපා.
ඉතින් කොහොමද යාලුවනේ? ඔයාලට දැන් පැහැදිලි ඇති කියලා හිතනවා Exception Handling කියන්නේ මොකක්ද, Try-Catch-Finally Blocks වලින් මොකක්ද කරන්නේ, සහ Custom Exceptions හදාගන්නේ කොහොමද කියන එක. මේක Software Development වලදී අනිවාර්යයෙන්ම දැනගෙන ඉන්න ඕනේ දෙයක්. විශේෂයෙන්ම Production System වල වැඩ කරනකොට Error Handling හරියට කරන එක පට්ට වැදගත්.
ඔයාලා මේ Concepts අදම Try කරලා බලන්න. ඔයාලගේ Project වලදී මේවා Apply කරන්න. මොකද, Practice කරන එක තමයි වැදගත්ම දේ. ඔයාලට මේ ගැන තව මොනවා හරි දැනගන්න තියෙනවා නම්, නැත්නම් ඔයාලගේ Experience එක බෙදාගන්න කැමති නම්, පහළින් Comment එකක් දාන්න. අපි ඊළඟ Post එකෙන් හමුවෙමු, හැමෝටම ජය!