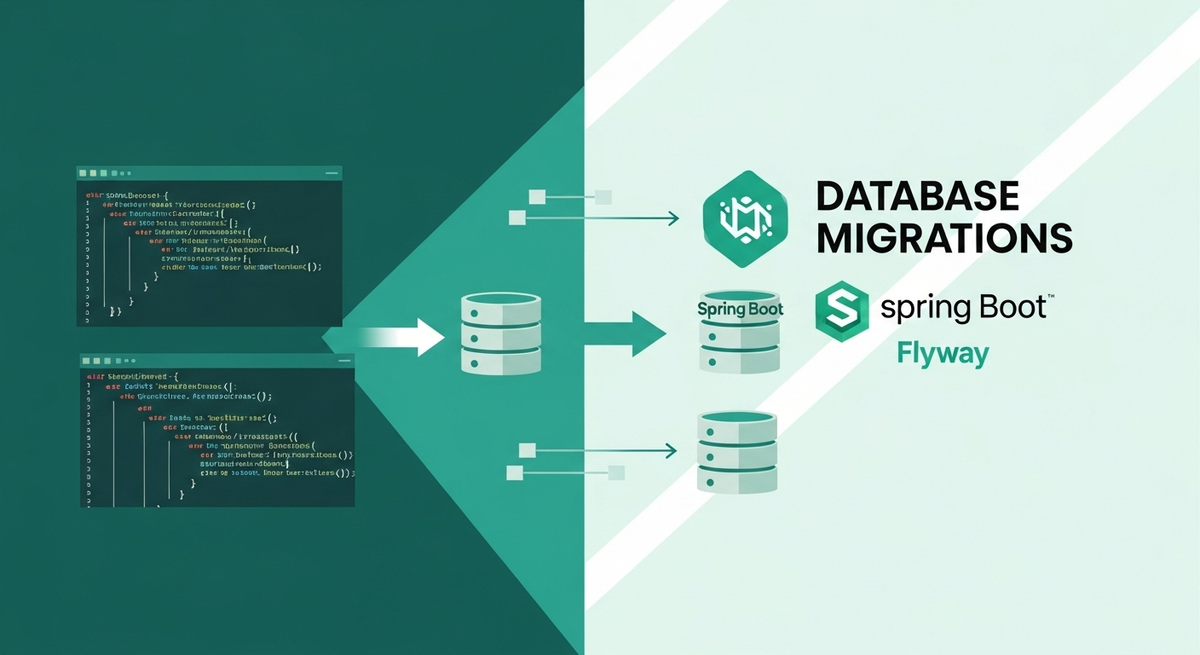
Spring Boot Flyway SC Guide - දත්ත සමුදා සංක්රමණ පහසුවෙන්

ආයුබෝවන් කට්ටියට! අද අපි කතා කරන්න යන්නේ software development වලදි අපිට ගොඩක් වෙලාවට එන ලොකු ප්රශ්නයකට පට්ටම solution එකක් ගැන. ඒ තමයි database migrations! විශේෂයෙන්ම Spring Boot එක්ක Flyway කියන tool එක කොහොමද පාවිච්චි කරන්නේ කියලා අපි විස්තරාත්මකව බලමු.
ඔයාලා කවදාවත් හිතලා තියෙනවද, ඔයාගේ application එක develop කරන අතරේ database schema එකේ වෙනස්කම් කරනකොට ඒ හැමදෙයක්ම manage කරන්නේ කොහොමද කියලා? අළුත් table එකක් add කරන එක, column එකක් modify කරන එක, නැතිනම් යම්කිසි data ටිකක් insert කරන එක වගේ දේවල් හැමදාම කරන්න වෙනවානේ. කණ්ඩායමක් විදියට වැඩ කරනකොට මේක ලොකු ප්රශ්නයක් වෙනවා. එක developer කෙනෙක් database එකේ වෙනසක් කරාම අනිත් අයගේ local databases update කරගන්න එක අමාරුයි. අයියෝ! එතකොට production database එක ගැන කතා කරන්න ඕනෙත් නෑනේ?
අන්න ඒ වගේ අවස්ථා වලට තමයි Flyway වගේ database migration tools ගොඩක් වැදගත් වෙන්නේ. මේකෙන් ඔයාලට පුළුවන් database schema changes version control කරන්න, code changes manage කරනවා වගේම.
Flyway කියන්නේ මොකක්ද?
සරලවම කිව්වොත් Flyway කියන්නේ database version control tool එකක්. Git වලින් code version control කරනවා වගේම, Flyway වලින් database schema changes version control කරනවා. ඒ කියන්නේ ඔයා database එකේ කරන හැම වෙනසක්ම SQL script files විදියට ලියලා save කරලා තියන්න පුළුවන්. ඊට පස්සේ Flyway මේ files ටික හරියට පිළිවෙලට execute කරලා ඔයාගේ database එක ඕනෑම version එකකට update කරනවා.
මේකේ තියෙන වාසි මොනවද?
- Consistency (ස්ථාවරත්වය): ඔයාගේ development, staging, production කියන හැම environment එකකම database schema එක එකම විදියට තියාගන්න පුළුවන්.
- Automation (ස්වයංක්රීයකරණය): Application එක start වෙනකොටම Flyway database migrations automatic activate කරනවා. ඒ නිසා manually changes කරන්න අවශ්ය නෑ.
- Collaboration (කණ්ඩායම් වැඩ): කණ්ඩායමක් විදියට වැඩ කරනකොට, එක developer කෙනෙක් කරපු database changes අනිත් අයටත් ලේසියෙන් update කරගන්න පුළුවන්.
- Rollbacks (පෙර තත්වයට ගැනීම): මොකක් හරි වැරදීමක් වුනොත් කලින් තිබ්බ stable version එකකට database එක rollback කරන්න පුළුවන් (මේක ටිකක් පරිස්සමින් කරන්න ඕනෙ).
Spring Boot Application එකකට Flyway එකතු කරගන්නේ කොහොමද?
Spring Boot Project එකකට Flyway එකතු කරන එක හරිම ලේසියි. මුලින්ම ඔයාගේ pom.xml (Maven) file එකට නැතිනම් build.gradle (Gradle) file එකට Flyway dependency එක add කරන්න ඕනේ.
Maven (pom.xml)
<dependency>
    <groupId>org.flywaydb</groupId>
    <artifactId>flyway-core</artifactId>
</dependency>
Gradle (build.gradle)
dependencies {
    implementation 'org.flywaydb:flyway-core'
}
මේ dependency එක add කරාට පස්සේ, Spring Boot automatically Flyway configure කරනවා. ඔයාට වෙනම configuration කරන්න අවශ්ය නෑ, හැබැයි පොඩි tweaks ටිකක් කරන්න පුළුවන් application.properties නැතිනම් application.yml file එකේ.
application.properties Configuration
# Database Connection (ඔයාගේ database එකට අනුව මේවා වෙනස් කරන්න)
spring.datasource.url=jdbc:mysql://localhost:3306/your_database_name
spring.datasource.username=your_username
sprindg.datasource.password=your_password
spring.datasource.driver-class-name=com.mysql.cj.jdbc.Driver

# Flyway Configuration
spring.flyway.enabled=true
spring.flyway.locations=classpath:db/migration
spring.flyway.baseline-on-migrate=true # Existing database එකක් නම් මේක true කරන්න පුළුවන්
මෙහිදී,
spring.flyway.enabled=true: Flyway activate කරන්න. (Default enabled)spring.flyway.locations=classpath:db/migration: Flyway migration scripts තියෙන තැන. මේක default location එක.
Database Migrations ලියන්නේ කොහොමද?
Flyway migration scripts කියන්නේ සාමාන්ය SQL files. මේ files ටික project එකේ src/main/resources/db/migration කියන folder එක ඇතුළේ හදන්න ඕනේ. මේ folder එක නැත්නම් හදාගන්න.
වැදගත්ම දේ තමයි මේ files වල naming convention එක. Flyway මේ files execute කරන්නේ ඒවායේ නම් වලට අනුව ascending order එකට.
Syntax එක මෙහෙමයි: V<VERSION>__<DESCRIPTION>.sql
V: මේක versioned migration එකක් කියන එක පෙන්නනවා.<VERSION>: Version number එක. මේක numbers වලින් විතරක් තියෙන්න ඕනේ. තිත් (periods) වලින් sub-versions දක්වන්න පුළුවන් (e.g., 1, 1_1, 2).__(double underscore): Version number එකයි description එකයි වෙන් කරනවා.<DESCRIPTION>: Migration එක මොකක්ද කියලා විස්තර කරන නමක් (spaces replace කරන්න underscores වලින්)..sql: File extension එක.
උදාහරණ:
V1__create_initial_tables.sqlV1_1__add_user_roles.sqlV2__add_product_table.sqlV2_1__insert_default_data.sql
Migration Script Examples
දැන් අපි බලමු මේ SQL files ඇතුලේ මොනවද ලියන්නේ කියලා.
V1__create_initial_tables.sql
-- V1__create_initial_tables.sql

CREATE TABLE users (
    id INT AUTO_INCREMENT PRIMARY KEY,
    username VARCHAR(255) NOT NULL UNIQUE,
    email VARCHAR(255) NOT NULL,
    password VARCHAR(255) NOT NULL,
    created_at TIMESTAMP DEFAULT CURRENT_TIMESTAMP
);

CREATE TABLE products (
    id INT AUTO_INCREMENT PRIMARY KEY,
    name VARCHAR(255) NOT NULL,
    description TEXT,
    price DECIMAL(10, 2) NOT NULL,
    stock INT DEFAULT 0
);
මුල්ම වතාවට database එක create කරනකොට මේ වගේ tables ටිකක් create කරන්න පුළුවන්.
V2__add_orders_table.sql
-- V2__add_orders_table.sql

CREATE TABLE orders (
    id INT AUTO_INCREMENT PRIMARY KEY,
    user_id INT NOT NULL,
    order_date TIMESTAMP DEFAULT CURRENT_TIMESTAMP,
    total_amount DECIMAL(10, 2) NOT NULL,
    FOREIGN KEY (user_id) REFERENCES users(id)
);
දෙවෙනි migration එකෙන් අළුත් orders table එකක් add කරනවා.
V3__add_address_to_users.sql
-- V3__add_address_to_users.sql

ALTER TABLE users
ADD COLUMN address VARCHAR(255);
තුන්වෙනි migration එකෙන් users table එකට අළුත් address column එකක් add කරනවා. මෙහෙම අළුත් features එනකොට අළුත් SQL files විදියට changes add කරගෙන යන්න පුළුවන්.
Flyway ක්රියා කරන්නේ කොහොමද?
ඔයා Spring Boot application එක start කරනකොට Flyway auto-detect වෙනවා. ඊට පස්සේ මේ පියවර අනුගමනය කරනවා:
- Check for history table (History table එක තියනවද බලනවා): Flyway මුලින්ම බලන්නේ ඔයාගේ database එකේ
flyway_schema_historyකියලා table එකක් තියනවද කියලා. මේ table එක තමයි Flyway කලින් execute කරපු migrations ගැන record තියාගන්නේ. - Create history table (History table එක හදනවා): මේ table එක නැත්නම්, Flyway ඒක auto create කරනවා.
- Scan migrations (Migrations scan කරනවා): Flyway ඔයාගේ
spring.flyway.locationsවල තියෙන migration scripts (උදා:src/main/resources/db/migration) scan කරනවා. - Compare and execute (සසඳා execute කරනවා): Flyway scan කරපු migrations සහ
flyway_schema_historytable එකේ record වෙලා තියෙන migrations සසඳනවා. මේ වෙනකොට database එකට apply කරලා නැති අළුත් migrations මොනවද කියලා හොයාගෙන ඒවා version order එකට එකින් එක execute කරනවා. - Update history table (History table එක update කරනවා): සාර්ථකව execute කරපු හැම migration එකක්ම
flyway_schema_historytable එකේ record කරනවා. මේ record එකේ version number, description, execution time, සහ checksum එකක් වගේ දේවල් තියෙනවා. මේ checksum එක ගොඩක් වැදගත්. ඒකෙන් Flyway එකම migration එක දෙපාරක් execute කරන එක වළක්වනවා වගේම, migration script එකක අන්තර්ගතය වෙනස් වෙලා තියෙනවද කියලත් check කරනවා.
මේ whole process එකම Spring Boot application startup එකේදී සිදුවෙන නිසා, ඔයාට database changes ගැන කරදර නොවී development වැඩ කරගෙන යන්න පුළුවන්.
Practical Tips සහ Best Practices
Flyway පාවිච්චි කරනකොට, ඔයාගේ workflow එක තවදුරටත් කාර්යක්ෂම කරගන්න මේ tips ටික ගොඩක් වැදගත් වෙයි:
1. Small, Incremental Migrations (පොඩි පොඩි වෙනස්කම්)
එක migration file එකක ලොකු database වෙනස්කම් ගොඩක් දාන්නේ නැතුව, හැම වෙනස්කමක්ම (table එකක් add කරනවා, column එකක් modify කරනවා වගේ) වෙන වෙනම migration file එකක ලියන්න. මේකෙන් changes track කරන එකත්, troubleshooting කරන එකත් ලේසි වෙනවා.
db/migration
├── V1__create_users_table.sql
├── V2__create_products_table.sql
├── V3__add_email_constraint_to_users.sql
└── V4__insert_initial_data.sql
2. Transactional Migrations
By default, Flyway single transaction එකක් ඇතුලේ migrations execute කරනවා (SQL statements that support transactions වලට). ඒ කියන්නේ migration එකක් අතරතුර මොකක් හරි error එකක් ආවොත්, whole transaction එකම rollback වෙනවා. මේකෙන් database එක corrupt වෙන එක වළක්වනවා.
3. Checksum Validation Issues
Flyway වලදී ගොඩක් දෙනෙක්ට එන පොදු ප්රශ්නයක් තමයි checksum validation failed error එක. මේක එන්නේ ඔයා කලින් execute කරපු migration script එකක් (ඒ කියන්නේ flyway_schema_history table එකේ record වෙලා තියෙන එකක්) වෙනස් කරොත්. Flyway ඒ script එකේ content එකේ checksum එක record කරලා තියාගන්නවා. පස්සේ application එක start කරනකොට මේ checksum එක අළුතෙන් calculate කරපු checksum එකත් එක්ක compare කරනවා. වෙනසක් තියනවා නම් error එකක් දෙනවා. මොකද Flyway හිතනවා ඔයා database history එක manipulate කරන්න හදනවා කියලා.
Solution:
- පරණ migration files වෙනස් කරන්න එපා!: ඒ වෙනුවට අළුත් migration file එකක් හදලා අවශ්ය වෙනස්කම් ඒකේ කරන්න.
flyway.repair(): සමහර අවස්ථා වලදී (උදා: development environment එකකදී), වැරදිලා වුන වෙනස්කමක් නිසා මේ error එක එනවා නම්,flyway repaircommand එක පාවිච්චි කරන්න පුළුවන්. මේකෙන්flyway_schema_historytable එකේ checksum එක update කරනවා. හැබැයි production වගේ databases වලට මේක ගොඩක් පරිස්සමින් කරන්න ඕනෙ.
4. Baseline option එක පාවිච්චි කිරීම
ඔයාට දැනටමත් existing database එකක් තියනවා නම් (Flyway කලින් පාවිච්චි කරලා නැති) ඒකට Flyway add කරනකොට baseline කියන option එක පාවිච්චි කරන්න වෙනවා. මේකෙන් Flyway වලට කියනවා database එකේ තියෙන schema එක මේ version එකෙන් පටන්ගන්න කියලා. ඒ කියන්නේ ඒ version එකට කලින් තියෙන migrations execute කරන්න එපා කියන එකයි.
spring.flyway.baseline-on-migrate=true
spring.flyway.baseline-version=1 # දැනට database එකේ තියෙන version එක.
මේකෙන් Flyway flyway_schema_history table එකට V1 migration එක already applied කියලා record කරනවා, නමුත් ඇත්තටම execute කරන්නේ නෑ.
5. Environment-specific Migrations
සමහර වෙලාවට development, staging, production වගේ different environments වලට වෙනස් migration scripts ඕනේ වෙන්න පුළුවන් (උදා: initial test data development එකේදී විතරක් insert කරන්න). ඒ වගේ අවස්ථාවලදී ඔයාට spring.flyway.locations එකට multiple paths දෙන්න පුළුවන්:
spring.flyway.locations=classpath:db/migration,classpath:db/dev_migration
ඊට පස්සේ db/dev_migration කියන folder එකේ තියෙන scripts dev environment එකේදී විතරක් active කරන්න පුළුවන් Spring Profiles පාවිච්චි කරලා.
අවසානයට
ඉතින් කට්ටියට තේරෙන්න ඇති Flyway කියන්නේ database management වලදි කොච්චර ලොකු උදව්වක්ද කියලා. ඒක ඔයාලගේ development process එක මාර විදියට streamline කරනවා. විශේෂයෙන්ම කණ්ඩායමක් විදියට වැඩ කරනකොට මේ වගේ tool එකක් නැතුව software development කරගෙන යන එක හරිම අමාරුයි.
Flyway පාවිච්චි කරන එකෙන් ඔයාගේ database schema changes වලට වෘත්තීය මට්ටමේ (professional) ක්රමවේදයක් (approach) එකතු වෙනවා. ඒ වගේම, deploy කරනකොට database එකට මොකද වෙන්නේ කියන එක ගැන ලොකු විශ්වාසයක් (confidence) ඇති වෙනවා.
වැදගත්ම දේ, මේක try කරලා බලන්න. ඔයාලගේ අදහස්, ප්රශ්න පහළ comment section එකේ දාන්න අමතක කරන්න එපා. අපි ඊළඟ article එකෙන් හම්බවෙමු! ෂුවර් එකටම මේක ඔයාලගේ Spring Boot Projects වලට add කරලා බලන්න. වැඩේ ලේසි වෙන හැටි ඔයාලටම තේරෙයි!


