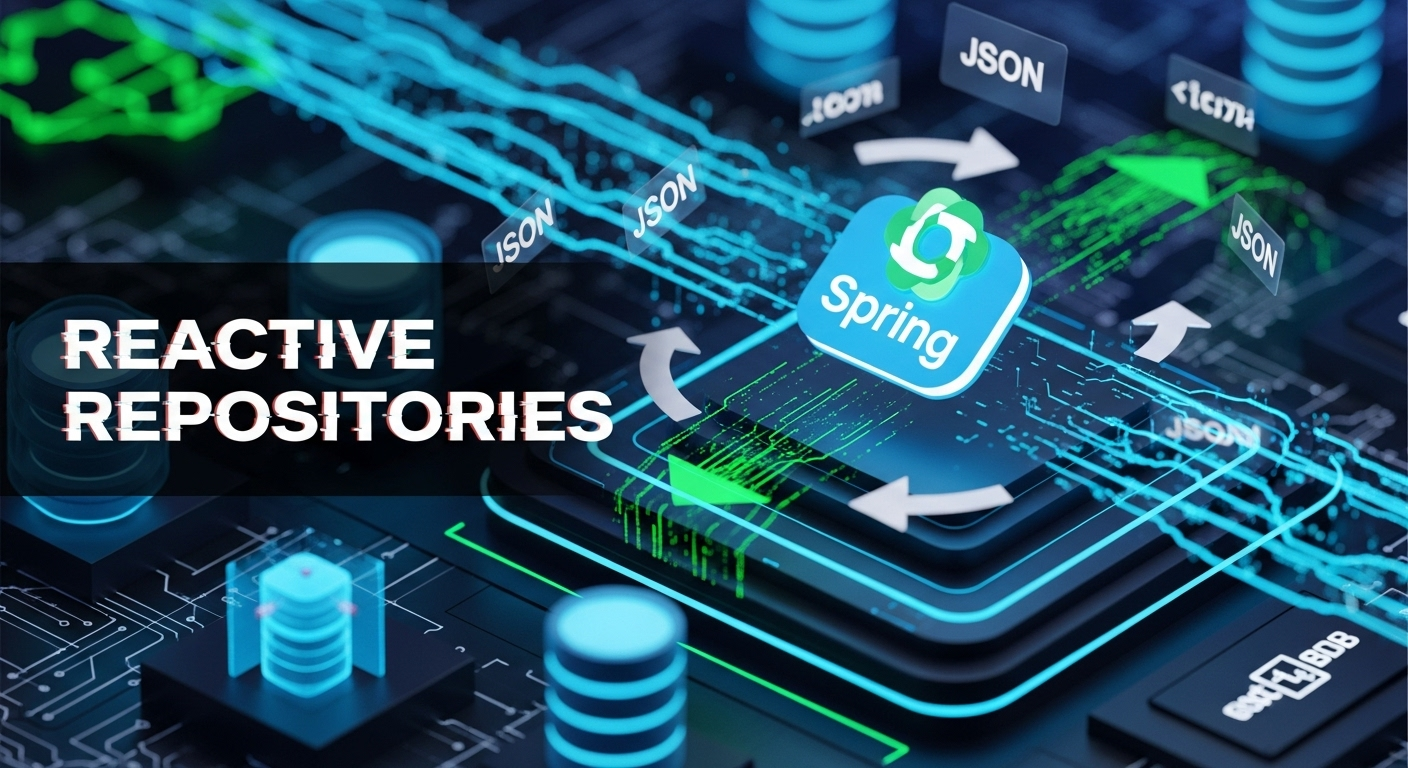
Reactive Repositories: Spring Data MongoDB සමග වේගවත් යෙදුම් ගොඩනගමු SC Guide
ආයුබෝවන් SC Guide එකට ආදරය කරන මගේ ආදරණීය Software Engineering මචන්ලා හැමෝටම!
අද මම කතා කරන්න යන්නේ මේ දවස්වල හොඳටම ජනප්රිය වෙලා තියෙන, ඒ වගේම අපේ Applications වල Performance එක අමුතුවෙන් Boost කරන Reactive Programming ගැන. විශේෂයෙන්ම, Spring Data Reactive සහ MongoDB එකතු කරගෙන, කොහොමද අපේ Data Access Layers, ඒ කියන්නේ Repositories, Non-blocking සහ Asynchronous විදියට හදන්නේ කියලා. මේකෙන් ඔයාලට පුළුවන් වෙයි High Performance, Responsive, Scalable Applications හදන්න පුරුදු වෙන්න.
සාමාන්යයෙන් අපේ Java Applications වල, විශේෂයෙන්ම Spring Boot වලදී, අපි Database Operations කරන්නෙ Blocking විදියට. ඒ කියන්නේ, අපේ Thread එක Database Call එක ඉවර වෙනකම් බලන් ඉන්නවා. පොඩි User Base එකකට මේක අවුලක් නැති උනාට, Millions ගාණක Users ලා එකපාරටම එනකොට, මේ Blocking Operations නිසා අපේ Application එක මන්දගාමී වෙන්න පුළුවන්, සමහරවිට Crash වෙන්නත් පුළුවන්. Reactive Programming මෙන්න මේ ප්රශ්නෙට තමයි Solution එක දෙන්නේ.
ඉතින්, අපි බලමු මේ Reactive Programming කියන්නේ මොකක්ද? Spring Data Reactive කියන්නේ මොකක්ද? ඒ වගේම, අපි හදපු සාමාන්ය Repository එකක් කොහොමද Reactive Repository එකක් විදියට Convert කරන්නේ කියලා. පොඩි Practical Example එකකුත් එක්ක අපි මේක අද ඉගෙනගමු!
Reactive Programming යනු මොකක්ද? (What is Reactive Programming?)
හරි, මුලින්ම මේ Reactive Programming කියන්නේ මොකක්ද කියලා පොඩ්ඩක් තේරුම් ගමු. සරලවම කිව්වොත්, මේක Asynchronous Data Streams එක්ක වැඩ කරන Programming Paradigm එකක්. මෙතනදී අපි Event-driven, Non-blocking, සහ Backpressure එක්ක වැඩ කරනවා.
- Asynchronous: මෙතනදී අපේ Code එක එකපාරටම Run වෙනවා. Database Call එකක් හෝ External Service එකකට කරන Call එකක් ඉවර වෙනකම් අපේ Main Thread එක Wait කරන්නේ නැහැ. Call එක ඉවර උනාම, ඒ Result එක Handle කරන්න වෙන Callback එකක් හෝ Listener එකක් තියෙනවා.
- Non-blocking: Asynchronous වගේම, මේ Non-blocking කියන එකෙන් කියවෙන්නේ අපේ Thread එකක් කිසිම Operation එකක් ඉවර වෙනකම් Block වෙලා නැහැ කියන එකයි. ඒකෙන් අපිට පුළුවන් එක Thread එකකින් ගොඩක් Operations Handle කරන්න.
- Backpressure: මේක Reactive Programming වල වැදගත්ම Concept එකක්. ඒ කියන්නේ, Data Source එකක් Data Produce කරන වේගය, Data Consumer එකකට ඒ Data Process කරන්න පුළුවන් වේගයට වඩා වැඩි වෙන වෙලාවට, Consumer එකට පුළුවන් Data Source එකට Slow වෙන්න කියලා කියන්න. මේකෙන් System එක Overload වෙන එක වළක්වා ගන්න පුළුවන්.
Reactive Programming වලට Java Ecosystem එකේදී ගොඩක් Frameworks තියෙනවා. ඒ අතරින් Spring Boot එක්ක ගොඩක් ජනප්රියයි Project Reactor. Project Reactor එකෙන් තමයි Mono සහ Flux කියන Core Concepts දෙක එන්නේ.
- Mono: Zero or One item එකක් Emit කරන Publisher එකක්. (උදා: Single Object එකක් Save කරලා, ඒ Save වෙච්ච Object එක Return කරන එක).
- Flux: Zero or N items Emit කරන Publisher එකක්. (උදා: Database එකෙන් Data List එකක් Load කරන එක).
මේ Mono සහ Flux තමයි Reactive Programming වල අපේ Data Streams නියෝජනය කරන්නේ.
Spring Data Reactive සහ MongoDB (Spring Data Reactive and MongoDB)
Spring Framework එක Reactive Programming වලට Support එක දුන්නෙ Spring WebFlux එක්ක. ඒ වගේම, Database Access කරන්න Spring Data Reactive කියන Module එකත් Introduce කළා. මේකෙන් අපිට පුළුවන් Database Operations Non-blocking විදියට කරන්න. අපි දන්නවා MongoDB කියන්නේ Document-oriented NoSQL Database එකක්. ඒක naturallyම Non-blocking I/O operations වලට Support කරනවා. ඉතින්, Spring Data Reactive සහ MongoDB කියන්නේ නියම Combination එකක්.
Spring Data Reactive Mongo Repository එකක් පාවිච්චි කරනකොට, අපේ Repository Methods වල Return Types වෙන්නේ Mono හෝ Flux. මේකෙන් Database Call එකක් Non-blocking විදියට Run වෙලා, Result එක එනකම් අපේ Thread එක නිදහස් වෙනවා. Result එක ආවට පස්සේ, Mono හෝ Flux එකේ තියෙන Pipeline එක ඔස්සේ ඒ Result එක Process වෙනවා.
සාමාන්ය (Blocking) Repository Method එකක්:
public interface UserRepository extends MongoRepository<User, String> {
    List<User> findByAgeGreaterThan(int age);
    User findByEmail(String email);
}
මේකේදී `findByAgeGreaterThan` Call එකෙන් Return වෙන්නේ `List<User>` එකක්. ඒ කියන්නේ, Database එකෙන් Data Load වෙනකම් Thread එක Block වෙනවා. `findByEmail` Call එකත් ඒ වගේමයි.
Reactive Repository Method එකක්:
import org.springframework.data.mongodb.repository.ReactiveMongoRepository;
import reactor.core.publisher.Flux;
import reactor.core.publisher.Mono;

public interface ReactiveUserRepository extends ReactiveMongoRepository<User, String> {
    Flux<User> findByAgeGreaterThan(int age);
    Mono<User> findByEmail(String email);
}
මේකේදී බලන්න, `findByAgeGreaterThan` එක `Flux<User>` එකක් Return කරනවා. ඒ කියන්නේ User ගොඩක් (Zero to N) Asynchronously එන්න පුළුවන්. `findByEmail` එක `Mono<User>` එකක් Return කරනවා. ඒ කියන්නේ Single User කෙනෙක් (Zero or One) Asynchronously එන්න පුළුවන්. මෙතනදී Thread එක Block වෙන්නේ නැහැ. Data Stream එකක් Return වෙනවා.
Existing Repository එකක් Reactive කරන්නෙ කොහොමද? (How to convert an existing repository to Reactive?)
දැන් අපි බලමු, ඔයාලා ගාව තියෙන සාමාන්ය Spring Data MongoDB Project එකක Repository එකක් කොහොමද Reactive Repository එකක් බවට පත් කරන්නේ කියලා. මේක හරිම ලේසියි.
අපි හිතමු අපිට `Product` කියන Entity එකට Repository එකක් තියෙනවා කියලා.
1. `Product` Entity එක (Model/Document):
import org.springframework.data.annotation.Id;
import org.springframework.data.mongodb.core.mapping.Document;

@Document(collection = "products")
public class Product {
    @Id
    private String id;
    private String name;
    private double price;
    private String category;

    // Constructors
    public Product() {}

    public Product(String name, double price, String category) {
        this.name = name;
        this.price = price;
        this.category = category;
    }

    // Getters and Setters
    public String getId() { return id; }
    public void setId(String id) { this.id = id; }
    public String getName() { return name; }
    public void setName(String name) { this.name = name; }
    public double getPrice() { return price; }
    public void setPrice(double price) { this.price = price; }
    public String getCategory() { return category; }
    public void setCategory(String category) { this.category = category; }

    @Override
    public String toString() {
        return "Product{" +
               "id='" + id + '\'' +
               ", name='" + name + '\'' +
               ", price=" + price +
               ", category='" + category + '\'' +
               '}';
    }
}
2. සාමාන්ය (Blocking) Product Repository එක:
import org.springframework.data.mongodb.repository.MongoRepository;
import org.springframework.stereotype.Repository;
import java.util.List;

@Repository
public interface ProductRepository extends MongoRepository<Product, String> {
    List<Product> findByPriceLessThan(double price);
    Product findByName(String name);
}
මේ Repository එකේ, `findByPriceLessThan` සහ `findByName` කියන methods දෙකම Blocking Operations.
3. Reactive Product Repository එකට Convert කිරීම:
මේක කරන්න අපිට කරන්න තියෙන්නේ Simple වැඩ ටිකක්.
- `MongoRepository` වෙනුවට `ReactiveMongoRepository` extend කරන්න.
- Methods වල Return Types `List<Product>` වෙනුවට `Flux<Product>` සහ `Product` වෙනුවට `Mono<Product>` විදියට වෙනස් කරන්න.
import org.springframework.data.mongodb.repository.ReactiveMongoRepository;
import org.springframework.stereotype.Repository;
import reactor.core.publisher.Flux;
import reactor.core.publisher.Mono;

@Repository
public interface ReactiveProductRepository extends ReactiveMongoRepository<Product, String> {
    Flux<Product> findByPriceLessThan(double price);
    Mono<Product> findByName(String name);
    Flux<Product> findByCategory(String category); // අලුතින් reactive method එකක්
}
දැන් බලන්න, අපේ Repository එක Reactive වෙලා! දැන් මේ methods Call කරනකොට, ඒ Call එක Non-blocking විදියට Run වෙන්නේ.
4. Service Layer එකේදී Reactive Repository එක පාවිච්චි කරන හැටි:
දැන් අපි බලමු Service Layer එකේදී මේ Reactive Repository එක කොහොමද Use කරන්නේ කියලා.
import org.springframework.beans.factory.annotation.Autowired;
import org.springframework.stereotype.Service;
import reactor.core.publisher.Flux;
import reactor.core.publisher.Mono;

@Service
public class ProductService {

    private final ReactiveProductRepository productRepository;

    @Autowired
    public ProductService(ReactiveProductRepository productRepository) {
        this.productRepository = productRepository;
    }

    public Flux<Product> getAllProducts() {
        return productRepository.findAll(); // findAll() is already reactive
    }

    public Mono<Product> getProductById(String id) {
        return productRepository.findById(id);
    }

    public Mono<Product> saveProduct(Product product) {
        return productRepository.save(product);
    }

    public Mono<Void> deleteProduct(String id) {
        return productRepository.deleteById(id);
    }

    public Flux<Product> getProductsByPriceLessThan(double price) {
        return productRepository.findByPriceLessThan(price);
    }

    public Mono<Product> getProductByName(String name) {
        return productRepository.findByName(name);
    }

    public Flux<Product> getProductsByCategory(String category) {
        return productRepository.findByCategory(category);
    }

    // Example of chaining reactive operations
    public Mono<Product> updateProductPrice(String id, double newPrice) {
        return productRepository.findById(id)
                .flatMap(product -> {
                    product.setPrice(newPrice);
                    return productRepository.save(product);
                });
    }
}
බලන්න, මෙතනදී අපි `Mono` සහ `Flux` Pipelines එක්ක වැඩ කරනවා. `flatMap` වගේ Operators පාවිච්චි කරලා අපිට පුළුවන් එකින් එකට Operations Chain කරන්න. මේවා Blocking Operations නෙවෙයි, Non-blocking. ඒ කියන්නේ Thread එකක් Block වෙන්නේ නැහැ.
5. Controller Layer එකේදී Reactive Data Handle කරන හැටි:
දැන් අන්තිමට බලමු Web Layer එකේදී, ඒ කියන්නේ Spring WebFlux Controller එකකදී, මේ Reactive Data Streams Handle කරන්නේ කොහොමද කියලා.
import org.springframework.beans.factory.annotation.Autowired;
import org.springframework.http.HttpStatus;
import org.springframework.web.bind.annotation.*;
import reactor.core.publisher.Flux;
import reactor.core.publisher.Mono;

@RestController
@RequestMapping("/api/products")
public class ProductController {

    private final ProductService productService;

    @Autowired
    public ProductController(ProductService productService) {
        this.productService = productService;
    }

    @GetMapping
    public Flux<Product> getAllProducts() {
        return productService.getAllProducts();
    }

    @GetMapping("/{id}")
    public Mono<Product> getProductById(@PathVariable String id) {
        return productService.getProductById(id)
                .switchIfEmpty(Mono.error(new ProductNotFoundException("Product not found with id: " + id))); // Handle not found case
    }

    @PostMapping
    @ResponseStatus(HttpStatus.CREATED)
    public Mono<Product> createProduct(@RequestBody Product product) {
        return productService.saveProduct(product);
    }

    @PutMapping("/{id}")
    public Mono<Product> updateProduct(@PathVariable String id, @RequestBody Product product) {
        return productService.updateProductPrice(id, product.getPrice()); // Reusing update price for simplicity
    }

    @DeleteMapping("/{id}")
    @ResponseStatus(HttpStatus.NO_CONTENT)
    public Mono<Void> deleteProduct(@PathVariable String id) {
        return productService.deleteProduct(id);
    }

    @GetMapping("/price-less-than/{price}")
    public Flux<Product> getProductsByPriceLessThan(@PathVariable double price) {
        return productService.getProductsByPriceLessThan(price);
    }

    @GetMapping("/by-name/{name}")
    public Mono<Product> getProductByName(@PathVariable String name) {
        return productService.getProductByName(name)
                .switchIfEmpty(Mono.error(new ProductNotFoundException("Product not found with name: " + name)));
    }

    @GetMapping("/category/{category}")
    public Flux<Product> getProductsByCategory(@PathVariable String category) {
        return productService.getProductsByCategory(category);
    }
}
මේ Controller එකේදී, Methods වල Return Types වෙන්නේ `Flux` සහ `Mono`. Spring WebFlux එක මේවා Automatically Subscribe කරලා, HTTP Response එක Generate කරනවා. බලන්න `switchIfEmpty` වගේ Operators පාවිච්චි කරලා Error Handling පවා කොච්චර ලස්සනට කරන්න පුළුවන්ද කියලා. මේකෙන් අපේ API Calls Non-blocking වෙනවා.
මේවා Run කරන්න කලින් ඔයාගේ `pom.xml` එකට Spring WebFlux සහ Reactive MongoDB Dependencies එකතු කරන්න අමතක කරන්න එපා. අනිවාර්යයෙන්ම Reactive Stack එකට අවශ්ය Dependencies ටික තියෙන්න ඕනේ.
<dependency>
    <groupId>org.springframework.boot</groupId>
    <artifactId>spring-boot-starter-data-mongodb-reactive</artifactId>
</dependency>
<dependency>
    <groupId>org.springframework.boot</groupId>
    <artifactId>spring-boot-starter-webflux</artifactId>
</dependency>
ඒ වගේම `application.properties` (හෝ `application.yml`) එකේ MongoDB Connection Details ටික දෙන්නත් අමතක කරන්න එපා.
spring.data.mongodb.host=localhost
spring.data.mongodb.port=27017
spring.data.mongodb.database=reactive-products-db
Reactive Programming වල වාසි සහ අභියෝග (Advantages and Challenges of Reactive Programming)
හරි, දැන් අපි Reactive Programming වල Advantages සහ Challenges මොනවද කියලා පොඩ්ඩක් කතා කරමු.
වාසි (Advantages):
- Increased Scalability: Non-blocking Operations නිසා, අඩු Threads ප්රමාණයක් පාවිච්චි කරලා වැඩි Concurrency එකක් ගන්න පුළුවන්. ඒ කියන්නේ, එකම Hardware එකේ වැඩි Requests ප්රමාණයක් Handle කරන්න පුළුවන්.
- Improved Responsiveness: Thread එකක් Block වෙන්නේ නැති නිසා, User Requests වලට ඉක්මනින් Response දෙන්න පුළුවන්. UI එක Freezing නැතුව smoothly වැඩ කරනවා.
- Efficient Resource Utilization: Threads කියන්නේ Resource එකක්. Blocking Applications වලදී, Thread Pool එකේ Threads Database Call එකක් ඉවර වෙනකම් නිකන් ඉන්නවා. Reactive Applications වලදී, Threads නිකන් ඉන්නේ නැහැ, ඒවා වෙන වැඩ කරනවා. ඒකෙන් Resources හොඳටම Use වෙනවා.
- Simplified Asynchronous Code: Callback Hell එකෙන් ගැලවෙන්න පුළුවන්. Mono සහ Flux Pipelines නිසා Asynchronous Code එක ගොඩක් කියවන්න ලේසියි.
අභියෝග (Challenges):
- Steep Learning Curve: Reactive Programming Concepts අලුත් අයට මුලින් ටිකක් තේරුම් ගන්න අමාරු වෙන්න පුළුවන්. Mono, Flux, Operators වගේ දේවල් වලට පුරුදු වෙන්න කාලයක් යනවා.
- Debugging Complexity: Asynchronous nature එක නිසා Debuging ටිකක් සංකීර්ණ වෙන්න පුළුවන්. Stack Traces කෙලින්ම ගලපන්න අමාරුයි.
- Operational Overhead: Production එකේදී Reactive Applications Monitor කිරීම සහ Troubleshooting කිරීම සාමාන්ය Blocking Applications වලට වඩා පොඩ්ඩක් සංකීර්ණ වෙන්න පුළුවන්.
ඒ වුනාට, මේ අභියෝග ටික ජයගත්තාම, Reactive Programming වලින් ඔයාගේ Application එකට ලැබෙන Performance Boost එක සුළුපටු නැහැ.
අවසාන වශයෙන් (Conclusion)
ඉතින් මචන්ලා, අද අපි කතා කළා Reactive Programming කියන්නේ මොකක්ද, Spring Data Reactive සහ MongoDB එකතු කරගෙන Non-blocking Repositories හදන්නේ කොහොමද, ඒ වගේම Existing Repository එකක් Reactive එකකට Convert කරන්නේ කොහොමද කියලා. මේකෙන් ඔයාලට පුළුවන් වෙයි High Performance, Scalable Web Applications හදන්න. විශේෂයෙන්ම, Microservices Architecture වලදී මේ Reactive Programming කියන්නේ අත්යවශ්යම දෙයක්.
මේ Concepts ටික ඔයාලට පැහැදිලි වෙන්න ඇති කියලා මම හිතනවා. පුළුවන් නම් ඔයාලත් මේක පොඩි Project එකක Implement කරලා බලන්න. එතකොට තව හොඳට තේරෙයි. මොකද, න්යායාත්මක දැනුමට වඩා ප්රායෝගික දැනුම වටිනවා නේ.
මතක තියාගන්න, හැම Application එකකටම Reactive Programming ඕන වෙන්නේ නැහැ. Simple CRUD Operations තියෙන, Low Traffic Applications වලට සාමාන්ය Blocking Applications වුනත් ඇති. හැබැයි, High Concurrency, Low Latency වගේ Requirement තියෙන Applications වලට Reactive Programming කියන්නේ Game Changer එකක්.
මේ ලිපිය ගැන ඔයාලගේ අදහස්, ප්රශ්න, යෝජනා තියෙනවා නම් පහලින් Comment Section එකේ ලියන්න. මම පුළුවන් ඉක්මනට ඒවට උත්තර දෙන්නම්. ඒ වගේම, මේ Article එක ඔයාගේ යාලුවෝ එක්කත් Share කරන්න. තවත් මේ වගේ වැදගත් Software Engineering Guides එක්ක SC Guide එකෙන් හම්බවෙමු!
සියලු දෙනාටම සුභ දවසක්!


