Java Maven Project Structure Sinhala Guide | pom.xml & Directory Layout Explained | SC Guide
හායි යාළුවනේ! කොහොමද ඔයාලට? අද අපි කතා කරන්න යන්නේ Java developersලාට නැතුවම බැරි, ගොඩක්ම වැදගත් tool එකක් ගැන – ඒ තමයි Maven. Java project කරන හැමෝම වගේ මේක දන්නවා ඇති, හැබැයි මේකේ structure එක සහ ඒකෙන් අපිට ලැබෙන වාසි ගැන හොඳටම පැහැදිලි අවබෝධයක් තියෙනවද? අද අපි ඒ ගැන ගැඹුරින්ම කතා කරමු. Maven කියන්නේ අපේ project management එකයි, build process එකයි නියමෙට organize කරගන්න උදව් වෙන සුපිරි platform එකක්. විශේෂයෙන්ම, Maven project එකක standard structure එක කොහොමද, ඒක ඇයි වැදගත් වෙන්නේ, আর pom.xml file එකේ තියෙන දේවල් මොනවද කියලා අපි අද හොඳටම පැහැදිලි කරගමු. අලුතින්ම මේ field එකට එන අයට වගේම, දැනටමත් project කරන අයටත් මේක ගොඩක් වැදගත් වෙයි කියලා මම හිතනවා.
හරි එහෙනම්, අපි පටන් ගමු!
Maven කියන්නේ මොකක්ද? ඇයි අපිට මේක ඕන?
සරලවම කිව්වොත්, Maven කියන්නේ Apache Software Foundation එකෙන් හදපු project management tool එකක්. මේකෙන් වෙන්නේ Java project එකක build lifecycle එක automate කරන එක, dependency management එක පහසු කරන එක, වගේම project එකේ information manage කරන එක. කලින් කාලේ project එකක් build කරනවා කියන්නේ classpath එක setup කරන එක, library files download කරලා project එකට add කරන එක වගේ ගොඩක් අතින් කරන්න ඕන වැඩක්. ඒ වගේම project එකක code files, test files, resources files දාන්නේ කොහෙද කියලා නිශ්චිත විදියක් තිබ්බේ නෑ. ඒක හරියට කැලෑවක් වගේ. හැම developer කෙනෙක්ම තමන්ට ඕන විදියට directories හදාගෙන වැඩ කළා. මේකෙන් වුණේ project එකේ maintainability එකයි, scalability එකයි අඩු වෙන එක.
Maven ආවට පස්සේ මේ හැමදේටම පිළිතුරක් ලැබුණා. Maven ගේ ප්රධාන සංකල්පය තමයි "Convention over Configuration" කියන එක. ඒ කියන්නේ, ඔයාට project එකක් හදන්න ගොඩක් configuration කරන්න ඕන නෑ. Maven project එකක් හැදුවම ඒකට standard directory structure එකක් ලැබෙනවා. ඒ structure එක follow කළොත් ගොඩක් දේවල් automatic වෙනවා. මේකෙන් developer ට project එකේ core logic එක ගැන වැඩිපුර අවධානය යොමු කරන්න පුළුවන් වෙනවා.
Maven Standard Directory Structure එක
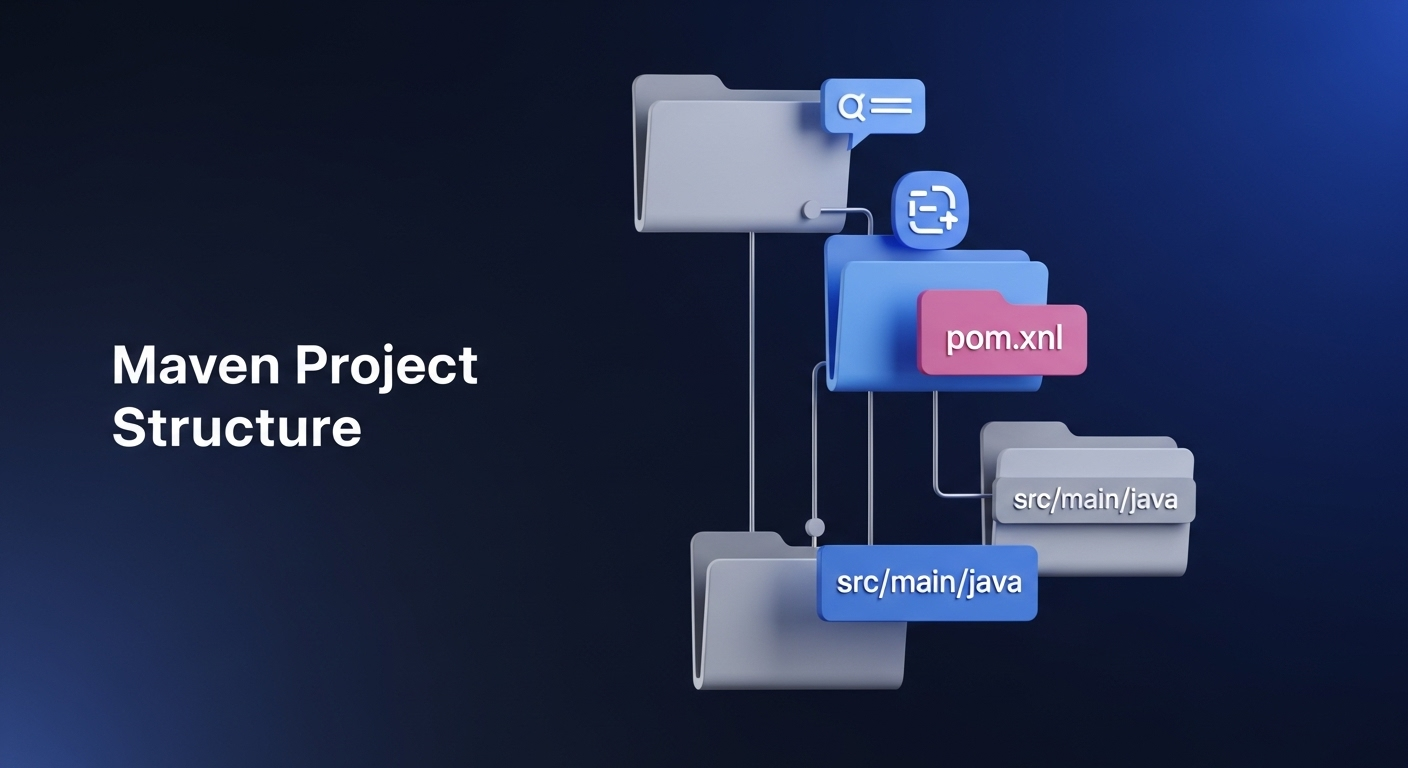
Maven project එකක් create කළාම, සාමාන්යයෙන් මේ වගේ directory structure එකක් තමයි හැදෙන්නේ:
my-maven-project
├── pom.xml
├── src
│   ├── main
│   │   ├── java
│   │   └── resources
│   └── test
│       ├── java
│       └── resources
└── target
මේ structure එක ගැන අපි එකින් එක බලමු:
pom.xmlfile එක:මේක තමයි Maven project එකේ හදවත. Project Object Model (POM) file එක. මේක XML format එකෙන් තියෙන්නේ. Project එකේ configuration, dependencies, build plugins, project metadata වගේ හැම තොරතුරක්ම මේ file එකේ තියෙනවා. මේ ගැන අපි තව ටිකකින් විස්තරාත්මකව කතා කරමු.srcdirectory එක:මේක තමයි අපේ source code files තියෙන ප්රධාන directory එක. මේක ඇතුලේ තව directories දෙකක් තියෙනවා:maindirectory එක:මේක ඇතුලේ project එකේ actual source code එකයි, resources filesයි තියෙනවා.java: Project එකේ ප්රධාන Java source code files (.javafiles) මෙතන තියෙන්නේ. ඔයා ලියන business logic, classes, interfaces වගේ හැමදේම මෙතන තමයි තියෙන්නේ.resources: Project එකට අවශ්ය configuration files (.properties,.xml), images, templates වගේ resource files මෙතන තියෙනවා. මේ files build වෙනකොට class path එකට add වෙනවා.
testdirectory එක:මේක ඇතුලේ project එකේ unit tests සහ integration tests වල source code එකයි, ඒවට අවශ්ය resources filesයි තියෙනවා.java: Project එකේ test Java source code files (JUnit, TestNG වගේ test frameworks වලින් ලියන tests) මෙතන තියෙන්නේ.resources: Tests වලට අවශ්ය configuration files, test data වගේ resources මෙතන තියෙනවා.
targetdirectory එක:මේක Maven build process එකෙන් generate වෙන output files තියෙන directory එක. මේක ඇතුලේ compiled class files, JAR/WAR files, test results, project artifacts වගේ දේවල් තියෙනවා. සාමාන්යයෙන් මේ directory එක version control වලට (Git වගේ) add කරන්නේ නෑ, මොකද මේක ඕන වෙලාවක rebuild කරන්න පුළුවන්.
pom.xml – Project එකේ හදවත
Maven project එකක තියෙන වැදගත්ම file එක තමයි pom.xml file එක. මේක හරියට project එකේ DNA එක වගේ. project එක ගැන හැම තොරතුරක්ම වගේ මේකේ අඩංගු වෙනවා. අපි මේකේ තියෙන ප්රධාන කොටස් ටිකක් බලමු.
<project xmlns="http://maven.apache.org/POM/4.0.0"
         xmlns:xsi="http://www.w3.org/2001/XMLSchema-instance"
         xsi:schemaLocation="http://maven.apache.org/POM/4.0.0 http://maven.apache.org/xsd/maven-4.0.0.xsd">

    <modelVersion>4.0.0</modelVersion>

    <groupId>com.sc.maven.example</groupId>
    <artifactId>my-first-maven-app</artifactId>
    <version>1.0.0-SNAPSHOT</version>
    <packaging>jar</packaging>

    <name>My First Maven Application</name>
    <description>A simple Maven project example</description>

    <properties>
        <project.build.sourceEncoding>UTF-8</project.build.sourceEncoding>
        <maven.compiler.source>11</maven.compiler.source>
        <maven.compiler.target>11</maven.compiler.target>
    </properties>

    <dependencies>
        <!-- JUnit for testing -->
        <dependency>
            <groupId>org.junit.jupiter</groupId>
            <artifactId>junit-jupiter-api</artifactId>
            <version>5.10.0</version>
            <scope>test</scope>
        </dependency>
        <!-- https://mvnrepository.com/artifact/org.slf4j/slf4j-api -->
        <dependency>
            <groupId>org.slf4j</groupId>
            <artifactId>slf4j-api</artifactId>
            <version>2.0.9</version>
        </dependency>
    </dependencies>

    <build>
        <plugins>
            <plugin>
                <groupId>org.apache.maven.plugins</groupId>
                <artifactId>maven-compiler-plugin</artifactId>
                <version>3.11.0</version>
                <configuration>
                    <source>${maven.compiler.source}</source>
                    <target>${maven.compiler.target}</target>
                </configuration>
            </plugin>
            <plugin>
                <groupId>org.apache.maven.plugins</groupId>
                <artifactId>maven-surefire-plugin</artifactId>
                <version>3.2.2</version>
                <!-- Configure Surefire to run tests -->
            </plugin>
        </plugins>
    </build>

</project>
මේ code එකේ තියෙන ප්රධාන sections ටිකක් බලමු:
<project>:මේක තමයිpom.xmlfile එකේ root element එක. මේක ඇතුලේ තමයි අනිත් හැම configuration එකක්ම තියෙන්නේ.<modelVersion>:මේක Maven POM එකේ version එක පෙන්නනවා. සාමාන්යයෙන් හැමවිටම4.0.0කියලා තමයි තියෙන්නේ.<groupId>,<artifactId>,<version>:මේ තුන එකතු වෙලා project එකේ coordinates හදනවා. මේකෙන් project එක unique විදියට identify කරන්න පුළුවන්. හරියට SIM card එකක ICCID එක වගේ.groupId: Project එක අයත් වෙන organization එකේ unique identifier එක (e.g.,com.yourcompany.project).artifactId: Project එකේ නම (e.g.,my-web-app,data-service).version: Project එකේ current version එක.SNAPSHOTකියන්නේ development version එකක්, තාම release වෙලා නෑ කියන එක.
<packaging>:Project එක build වුණාම මොන වගේ output එකක්ද generate වෙන්නේ කියලා මේකෙන් පෙන්නනවා. බහුලවම පාවිච්චි වෙනවාjar(Java Archive),war(Web Archive),pom(for parent projects/modules).<name>,<description>:Project එක ගැන කෙටි නමක් සහ විස්තරයක් මෙතන දෙන්න පුළුවන්. මේවා project documentation වලට වගේම tools වලටත් වැදගත්.<properties>:මේ section එකෙන් project එකට අවශ්ය common variables define කරන්න පුළුවන්. උදාහරණයක් විදියට, Java version එක, encoding type එක, dependency versions වගේ දේවල් මෙතන තියලා අනිත් තැන්වලදී මේ variables use කරන්න පුළුවන්. මේකෙන් code duplication අඩු වෙනවා.<dependencies>:මේක තමයි Maven වල වැදගත්ම features වලින් එකක්. අපේ project එකට අවශ්ය external libraries (dependencies) මෙතන define කරන්න පුළුවන්. Maven එකෙන් මේ dependencies automatically download කරලා project එකේ classpath එකට add කරනවා. Dependency එකක් define කරනකොට ඒකේgroupId,artifactId,versionspecify කරන්න ඕන. ඒ වගේමscopeඑකත් specify කරන්න පුළුවන්:compile: Default scope එක. මේ dependency එක compilation, testing, සහ runtime එකේදී අවශ්ය වෙනවා. (e.g., Spring Core, Hibernate)test: මේ dependency එක අවශ්ය වෙන්නේ test compilation එකටයි, test execution එකටයි විතරයි. Main code එකට මේක අවශ්ය නෑ. (e.g., JUnit, Mockito)provided: මේ dependency එක compilation එකටයි, testing එකටයි අවශ්ය වුණත්, runtime එකේදී ඒක application server එකෙන් provide කරනවා කියලා Maven එකට කියනවා. (e.g., Servlet API for a WAR file)runtime: මේ dependency එක compilation එකට අවශ්ය නැති වුණත්, runtime එකේදී සහ test execution එකේදී අවශ්ය වෙනවා. (e.g., JDBC drivers)system: මේක Local system එකක තියෙන jar file එකක් direct add කරන්න යොදා ගන්නවා. හැබැයි මේක recommend කරන්නේ නෑ.
<build>:මේ section එකෙන් project එක build කරන විදිය configuration කරන්න පුළුවන්. Compiler plugin එක customize කරන එක, resources copy කරන එක, JAR/WAR file එක generate කරන එක වගේ දේවල් මේක ඇතුලේ තියෙන<plugins>section එකෙන් control කරන්න පුළුවන්.<plugins>: Build process එකට අවශ්ය plugins මෙතන define කරන්න පුළුවන්. උදාහරණයක් විදියට,maven-compiler-pluginඑක Java code compile කරන්න,maven-surefire-pluginඑක tests run කරන්න වගේ දේවලට පාවිච්චි කරනවා.
මේ structure එකෙන් අපිට ලැබෙන වාසි මොනවද?
Maven standard project structure එක follow කිරීමෙන් අපිට ලැබෙන වාසි ගොඩයි:
- Standardization (සම්මතකරණය): හැම project එකක්ම එකම විදියට organize වෙන නිසා, අලුත් developer කෙනෙක් team එකට add වුණාම project එක ගැන ඉක්මනින්ම අවබෝධ කරගන්න පුළුවන්. "අනේ මේකේ main code එක කොහෙද, test files කොහෙද?" කියලා හොයන්න ඕන වෙන්නේ නෑ.
- Simplified Builds (පහසු build කිරීම්):
mvn clean installවගේ simple commands ටිකකින් project එක compile කරන්න, test කරන්න, package කරන්න පුළුවන්. Build scripts ලිය ලියා ඉන්න ඕන නෑ. - Dependency Management (පුස්තකාල කළමනාකරණය): "JAR Hell" වලින් නිදහස් වෙන්න පුළුවන්. Dependencies manage කරන එක ගොඩක්ම පහසුයි. Version conflicts අඩු වෙනවා, අවශ්ය library එක automatic download වෙනවා.
- Consistency (ස්ථාවරත්වය): විවිධ project අතර consistency එකක් පවත්වාගන්න පුළුවන්. මේක විශාල organizations වලට ගොඩක් වැදගත්.
- Better Collaboration (හොඳ සහයෝගීතාව): Team එකේ හැමෝම එකම structure එක follow කරන නිසා, code merge කරන එක, වෙන කෙනෙක්ගේ code එක review කරන එක ගොඩක් පහසු වෙනවා.
- IDE Integration (IDE සමඟ අනුකූලතාව): IntelliJ IDEA, Eclipse, VS Code වගේ popular IDEs Maven project structure එකට හොඳින් support කරනවා. Project එක import කළාම automatic build settings adjust වෙනවා.
නිගමනය
දැන් ඔයාලට Maven project structure එක ගැන හොඳ අවබෝධයක් ලැබෙන්න ඇති කියලා මම හිතනවා. pom.xml file එකේ වැදගත්කම, standard directory layout එක සහ ඒකෙන් අපිට ලැබෙන වාසි ඔයාලා තේරුම් අරන් ඇති. Software development වලදී, organize වෙලා වැඩ කරන එක ගොඩක් වැදගත්. Maven කියන්නේ ඒකට අපිට ලොකු සහයක් දෙන tool එකක්.
ඊළඟ පාර Java project එකක් පටන් ගන්නකොට මේ Maven standard structure එක follow කරන්න අමතක කරන්න එපා. ඒ වගේම, pom.xml file එක තව තවත් explore කරන්න. ඒකේ තියෙන හැම element එකක්ම මොකටද කියලා දැනගන්න උත්සාහ කරන්න. එතකොට ඔයාලට Maven එකේ power එක තව හොඳට තේරෙයි.
මේ ගැන ඔයාලගේ අදහස්, ප්රශ්න පහලින් comment කරන්න. අපි ලබන ලිපියෙන් තව වැදගත් දෙයක් ගැන කතා කරමු. එහෙනම්, හැමෝටම සුභ දවසක්! Happy Coding!